Detecting Leaks Through Your Concrete Slab
Avoid that sinking feeling. Stop slab leaks before they start.
Everyone has his or her own version of that sinking feeling that coincides with the recognition of impending doom: When the car door closes with the keys inside; when the credit card isn’t in the wallet at the checkout line; when the wallet itself is missing…
It is important to ensure that concrete slabs have sufficient time to distribute moisture content as they form so that no one needs to have that same sinking feeling over a problem floor. When a slab is newly poured and drying, there is still time to remediate a moisture-related problem before flooring goes down. But after all installations are complete, the discovery of a possible moisture-related problem can lead to that infamous “oh no” moment.
Detecting the Rising Moisture Content
During the normal drying process, moisture content rises from the bottom of a concrete slab to the surface in order to evaporate. The key is to measure concrete moisture content while accounting for variables, such as relative humidity (RH), which may speed or slow slab drying times. Surface testing does not allow for internal moisture assessment, but with relative humidity (RH) testing, a flooring installer can be confident that the slab has reached the specified internal RH before applying the selected floor.
But what about after?
Flooring stakeholders get that sinking feeling when they notice cracks in floor tiling, mold in carpet corners, blisters in a resin floor, or cupping in wood flooring. You wonder: I did hear correctly, didn’t I? They tested the slab and it was fine. Wasn’t it?
 That might depend on the test methodology used. If anhydrous calcium chloride was the test specified, then the issue may be that the slab was not fully dried. No surface-based test can adequately depict the internal moisture ratios that will eventually even out (equilibrate) through the sealed slab. In that case, some more extreme remediation may be called for.
If the moisture test was indeed an RH test that provided the go-ahead for the floor installation, there are other factors that can introduce water into the equation once again. A perforated, non-existent, or degraded vapor retarder might be allowing groundwater to come up under the slab. Plumbing leaks may be trapping moisture between the slab and the flooring. Whatever the cause, the source of moisture must be identified before it can be corrected.
But how do you test for that?
A Course of Treatment
The first step toward concrete slab moisture remediation is moisture content measurement.
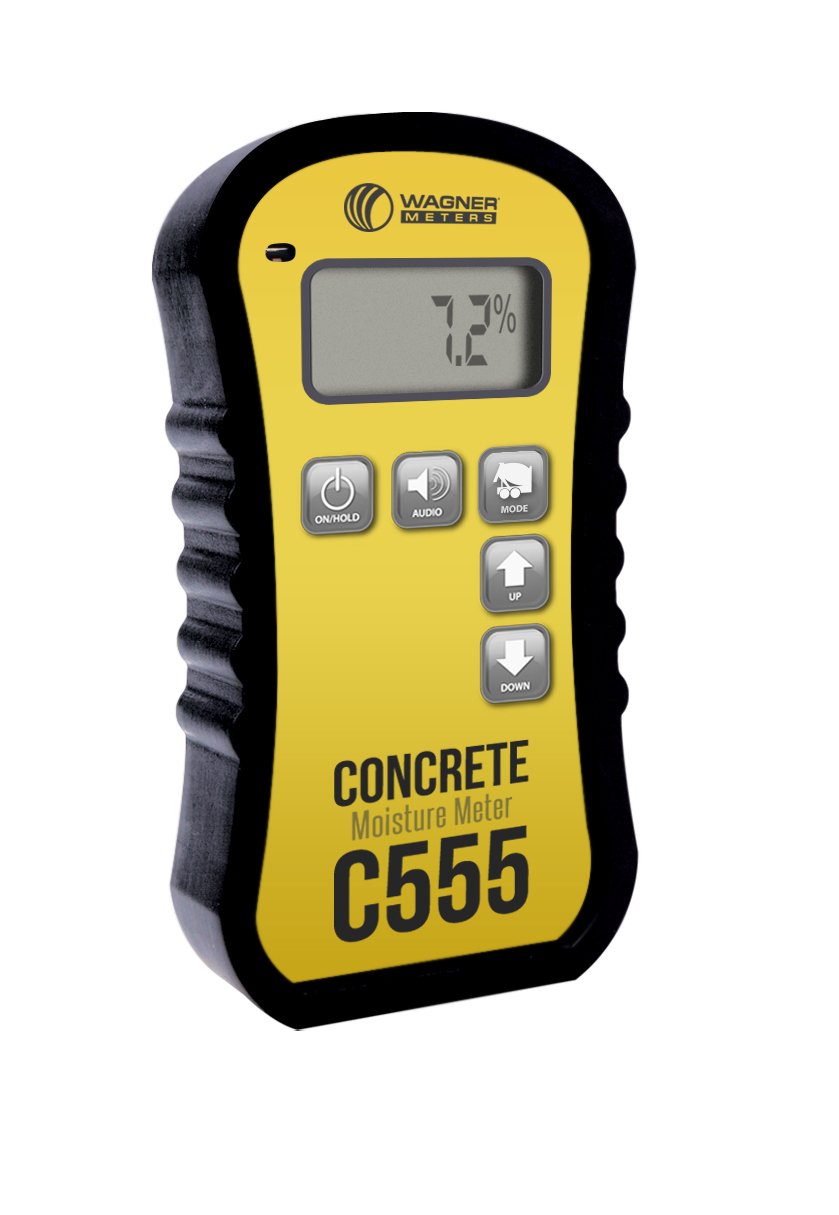
 A concrete moisture meter, like the C555 concrete moisture meter from Wagner Meters (coming soon), can provide immediate qualitative slab assessment. This concrete moisture meter does not replace RH testing—rather, this moisture meter can quickly scan the surface of the slabs and indicate areas which may need to be assessed with a more reliable test method. Infrared cameras can also be helpful in locating possible “wet” areas based on temperature variations in the slab.
Keep in mind, though, that neither a surface-based moisture test (concrete moisture meter, infrared camera), can conclusively quantify slab moisture content levels. They only serve to inform assessors of potential problem areas.
Once a problem area is located, testing and remediation can proceed with appropriate courses of action. Further RH testing is the most definitive way to pinpoint a sub-slab problem for remediation.
Every problem has a solution, and a variety of tools is available to help solve a leak-related concrete moisture issue.